Off-Grid Infrastructure Lighting: A Step-by-Step Guide
Overview
Embrace the challenge of illuminating remote or off-grid locations without relying on traditional power networks. This guide empowers you to design, install, and maintain sustainable lighting systems tailored to your infrastructure needs. From understanding solar energy principles to selecting robust fixtures, you'll master the art of creating self-sufficient lighting solutions.
Getting Started: Laying the Foundation
-
Define Your Project Scope:
- Identify the location(s) requiring off-grid lighting. Consider remote sites like campgrounds, road construction zones, or off-network buildings.
- Determine lighting objectives: safety, aesthetic appeal, task illumination, or environmental preservation.
- Estimate the area to be lit and the desired light levels (lux).
-
Research Local Regulations:
- Consult local authorities and zoning boards for permits and guidelines regarding off-grid installations.
- Understand building codes and electrical safety standards specific to your region.
- Ensure your design complies with environmental protection regulations, especially in natural reserves.
-
Assemble Your Team:
- Choose a qualified solar lighting installer or engineer with experience in similar projects.
- Collaborate with local electricians for wiring and grid-tie options if needed.
- Involve architects or designers to incorporate lighting into structural plans (for new builds).
Step 1: Site Assessment and Solar Analysis
-
Conduct a Detailed Site Visit:
- Inspect the location(s) to identify potential challenges like terrain, shading, and weather conditions.
- Note existing infrastructure and accessibility for equipment delivery and installation.
- Measure light levels and observe daily/seasonal variations to determine lighting requirements.
-
Perform Solar Radiation Analysis:
- Utilize specialized software or tools to assess solar irradiation at the site.
- Identify the optimal orientation and tilt angle for solar panels based on geographical location.
- Analyze shading effects from nearby structures, trees, or terrain features.
-
Calculate Energy Requirements:
- Determine the wattage needed for each lighting fixture based on lumens and intended use.
- Estimate daily energy consumption by multiplying wattage by hours of operation.
- Factor in system inefficiencies (around 20%) to ensure sufficient solar generation.
Step 2: System Design and Component Selection
-
Choose Solar Panel Technology:
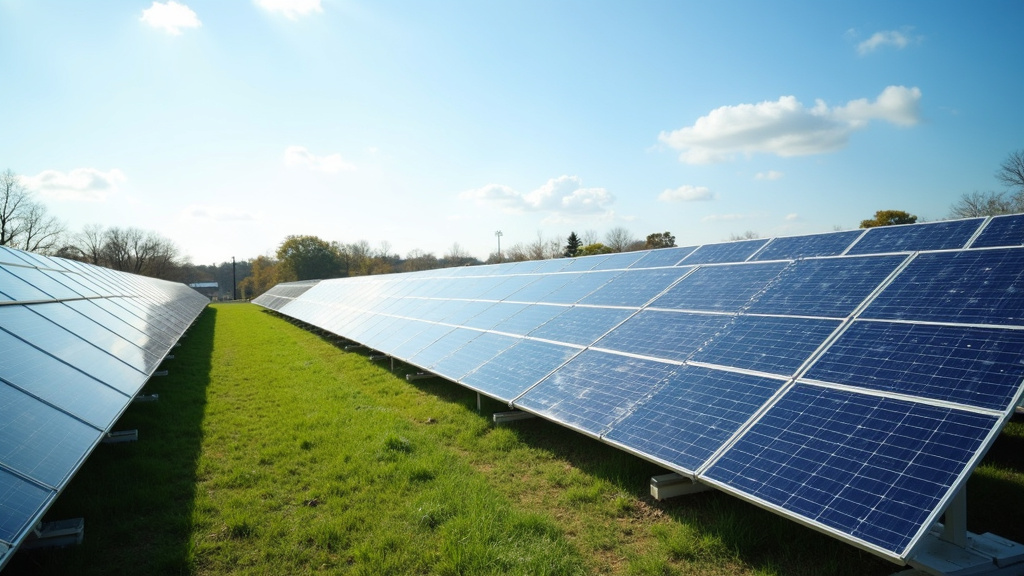
- Select high-efficiency monocrystalline or polycrystalline panels based on budget and space constraints.
- Consider thin-film solar cells for flexible, lightweight solutions in certain applications.
- Ensure panels are rated for the expected environmental conditions (moisture, temperature).
-
Design the Solar Array:
- Create a layout of solar panels considering optimal orientation and spacing for maximum sunlight exposure.
- Calculate the total system capacity required to meet energy demands (from Step 1).
- Incorporate oversize panels to account for future expansion or system losses.
-
Select Lighting Equipment:
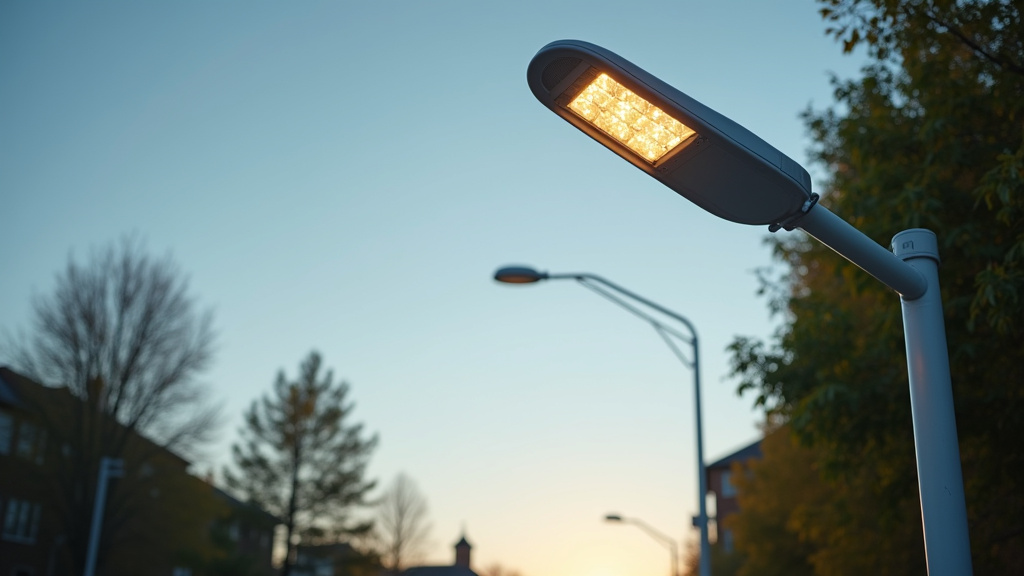
- Choose LED fixtures designed for off-grid applications, offering long lifespan and efficiency.
- Consider color temperature (warm/cool white) and CRI (color rendering index) for desired lighting effects.
- Select fixtures with IP ratings suitable for outdoor, harsh environments.
- Ensure fixtures are dimmable if controlling light levels is essential.
-
Design the Wiring Layout:
- Plan the routing of wires from solar panels to controllers, batteries, and lighting fixtures.
- Use weatherproof cables and connectors rated for outdoor use.
- Consider incorporating ground faults and overcurrent protection devices for safety.
Step 3: System Installation
-
Prepare the Foundation:
- Clear the site of debris and vegetation, ensuring proper drainage.
- Level the ground or install a robust base for solar panels if necessary.
- Follow manufacturer guidelines for panel mounting hardware and security.
-
Install Solar Panels:
- Set up the solar array according to the design layout, ensuring optimal alignment.
- Connect panels in series/parallel as required to achieve the desired voltage and current.
- Verify wiring integrity using multimeter tests.
-
Set Up Battery Storage:
- Select deep-cycle batteries suitable for off-grid applications (e.g., lead-acid, lithium).
- Install battery banks in a cool, dry place with proper ventilation.
- Implement a battery management system to monitor voltage, current, and state of charge.
-
Wire Lighting Fixtures:
- Run cables from the inverter/controller to each lighting fixture, ensuring proper grounding.
- Connect fixtures to a central dimming or control system if desired for remote management.
- Test individual fixtures for functionality and brightness.
Step 4: System Commissioning and Testing
-
Conduct Performance Tests:
- Check the solar array's output using a data logger to ensure it meets design specifications.
- Measure battery charging and discharging rates under various weather conditions.
- Verify lighting system performance, including dimming and remote control functionality.
-
Load Testing:
- Simulate peak energy demand by connecting additional high-wattage equipment temporarily.
- Assess the system's ability to maintain adequate battery charge during extended periods of use.
- Adjust system design or component selection if significant oversupply or undersupply occurs.
-
Troubleshooting and Optimization:
- Identify any issues with wiring, connectors, or components during testing.
- Calibrate sensors, controllers, and dimmers for precise performance.
- Fine-tune solar array orientation and tilt to maximize energy capture.
Advanced Implementation: Customization and Expansion
-
Integrate Renewable Energy Sources:
- Explore adding wind turbines or micro-hydro systems for supplemental power generation.
- Combine multiple renewable technologies to create a hybrid power system.
-
Implement Smart Lighting Controls:
- Utilize IoT (Internet of Things) devices for remote monitoring and control of lighting systems.
- Program scheduling, occupancy sensing, and daylight harvesting for energy efficiency.
-
Expand System Scalability:
- Design the system to accommodate future growth by including expandable battery banks and wiring.
- Plan for additional lighting fixtures or equipment with modular design approaches.
Maintenance and Troubleshooting Guide
-
Regular Inspection and Cleaning:
- Inspect solar panels, wiring, and fixtures monthly for signs of damage, corrosion, or debris accumulation.
- Clean solar panels periodically to maintain optimal efficiency (a few times a year).
-
Battery Maintenance:
- Monitor battery voltage regularly and top up as needed with distilled water (for lead-acid batteries).
- Check battery terminals for corrosion and clean if necessary.
- Follow manufacturer guidelines for periodic charging and discharging cycles.
-
Common Issues and Solutions:
- Low Battery Voltage: Check for excessive energy draw, faulty connections, or floating chargers.
- Shady Conditions: Re-orient solar panels or trim nearby trees to minimize shading.
- Lighting Dimness: Inspect wiring, ensure dimmer settings are correct, and verify battery state of charge.
- Equipment Malfunction: Test components individually, check for loose connections, and consult manufacturers' support.
Implementation Checklist: At-a-Glance
-
Permits and Regulations (Time: 2 weeks):
- Obtain necessary permits and comply with local codes.
-
Site Assessment and Design (Time: 3-4 weeks):
- Conduct site visits, solar analysis, and system design.
-
Component Sourcing and Procurement (Time: 1-2 months):
- Source and order high-quality components from reliable suppliers.
-
Installation and Testing (Time: 4-6 weeks):
- Install the system, perform tests, and address any issues.
-
Commissioning and Final Adjustments (Time: 1 week):
- Fine-tune system performance and documentation.
Resources Required:
- Solar Panels: High-efficiency monocrystalline/polycrystalline panels.
- Batteries: Deep-cycle lead-acid or lithium batteries.
- LED Lighting: Energy-efficient, IP-rated LED fixtures.
- Wiring and Connectors: Weatherproof cables and connectors.
- Mounting Hardware: Solar panel mounting equipment.
- Tools: Multimeters, data loggers, cleaning equipment.
- Expertise: Qualified solar lighting installers/engineers.
Real-World Application Examples:
-
Remote Camping Grounds:
- Implement off-grid lighting at backcountry campsites to enhance visitor experience without disturbing wildlife.
- Use LED fixtures with motion sensors for energy efficiency and safety.
-
Off-Network Farms:
- Provide lighting for agricultural operations in remote areas, reducing reliance on diesel generators.
- Integrate solar-powered fans and ventilation systems for animal housing.
-
Urban Road Construction:
- Illuminating construction sites at night using portable off-grid lighting systems improves safety and work efficiency.
- Implement LED lights with adjustable color temperatures to cater to workers' preferences.
Industry Statistics:
- According to a 2022 report, the global solar lighting market is projected to reach USD 14.5 billion by 2030, growing at a CAGR of 18%.
- In North America, off-grid renewable energy adoption has increased by 25% in the past year, with solar lighting being a significant contributor.
- Remote locations account for over 40% of global lighting energy consumption due to inadequate grid infrastructure.
Category: off grid infrastructure lighting
Powering Remote Infrastructure: Solar Off-Grid Lighting Solutions
Read more →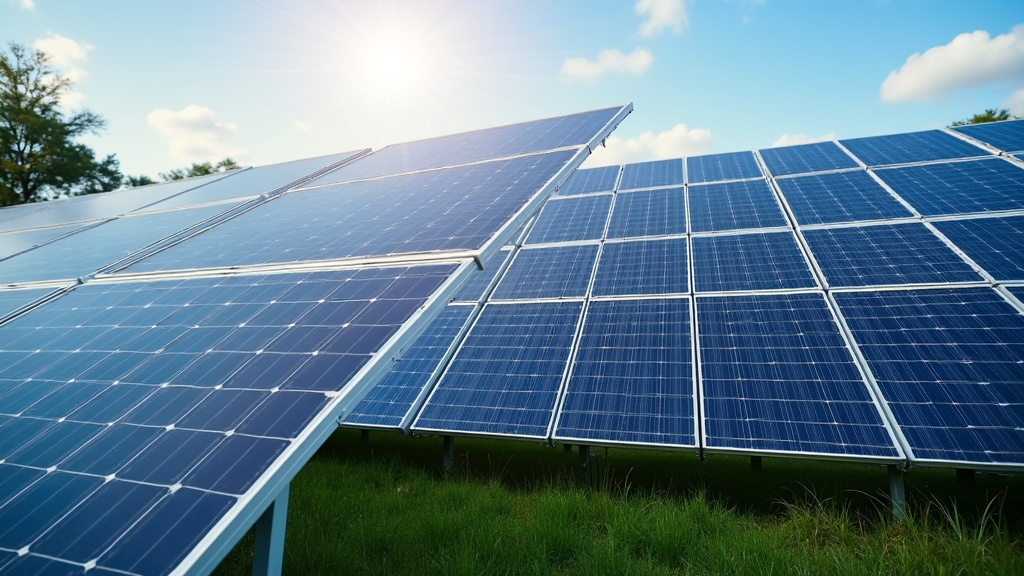
Mastering Off-Grid Lighting: Design, Implement, Sustain
Read more →
Choose Best Off Grid Infrastructure Lighting Provider for Your Project
Read more →
Qualify for Off Grid Infrastructure Lighting: Steps & Solutions
Read more →
Mastering Off Grid Infrastructure Lighting: Design to Maintenance
Read more →
Off Grid Lighting Costs: Installation, Equipment, & Maintenance Expenses
Read more →
Off Grid Infrastructure Lighting: Technologies and Efficient Design
Read more →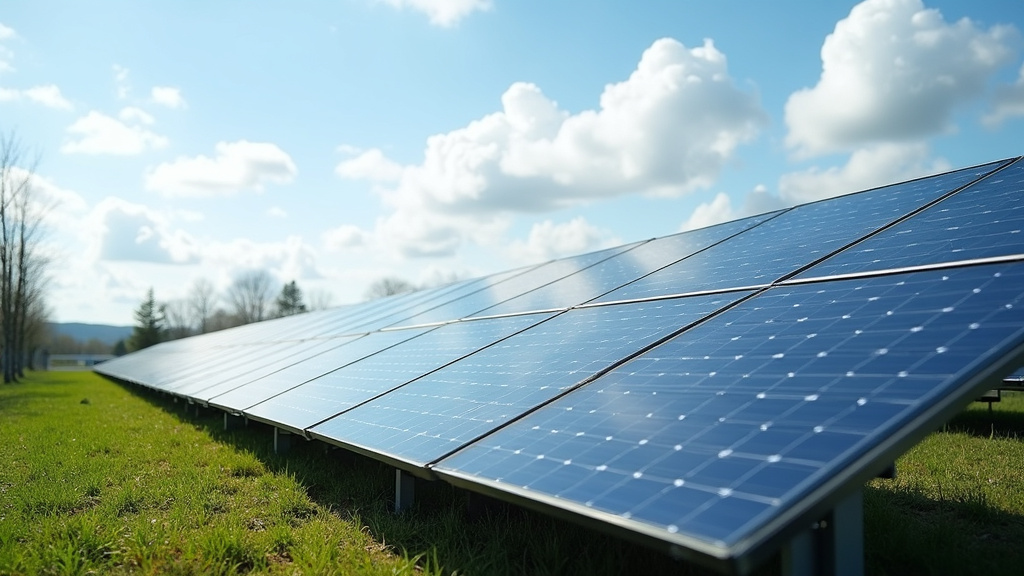
Essential Questions for Off Grid Infrastructure Lighting Hire
Read more →